This article is a part of:
Last month, I was asked to set up a Samba/SMB server that could be accessed over the Internet. Since the requirement was temporary, I chose to deploy it on an Azure Virtual Machine using my student subscription instead of renting a dedicated VPS.
Although the server ended up not being used, this article documents the setup process during the deployment.
Before going further, I have to say that exposing the SMB Server directly to the Internet is not considered “best practice”. A safer approach would be to place the server behind a VPN and only allow access through that private network.
Goals
- Deploy an Ubuntu server in Azure
- Set up and Configure a Samba server
- Expose the Samba server over the Internet using IP whitelisting
Prerequisites
- Azure Account
- Basic knowledge of Azure, at least menu navigation and creating a resource group.
- Basic knowledge of Linux
VM Configuration & Deployment
The VM setup choices here made to support a small number of temporary users as well as keeping costs low.
Create VM
At this step, I already have a resource group called IAMF_SMB-TEST and I’ll be creating a VM instance inside this resource. I used a B1s instance since the server was intended for 4–5 concurrent users and only basic file sharing workloads.
The VM details of mine can be seen in the following image:
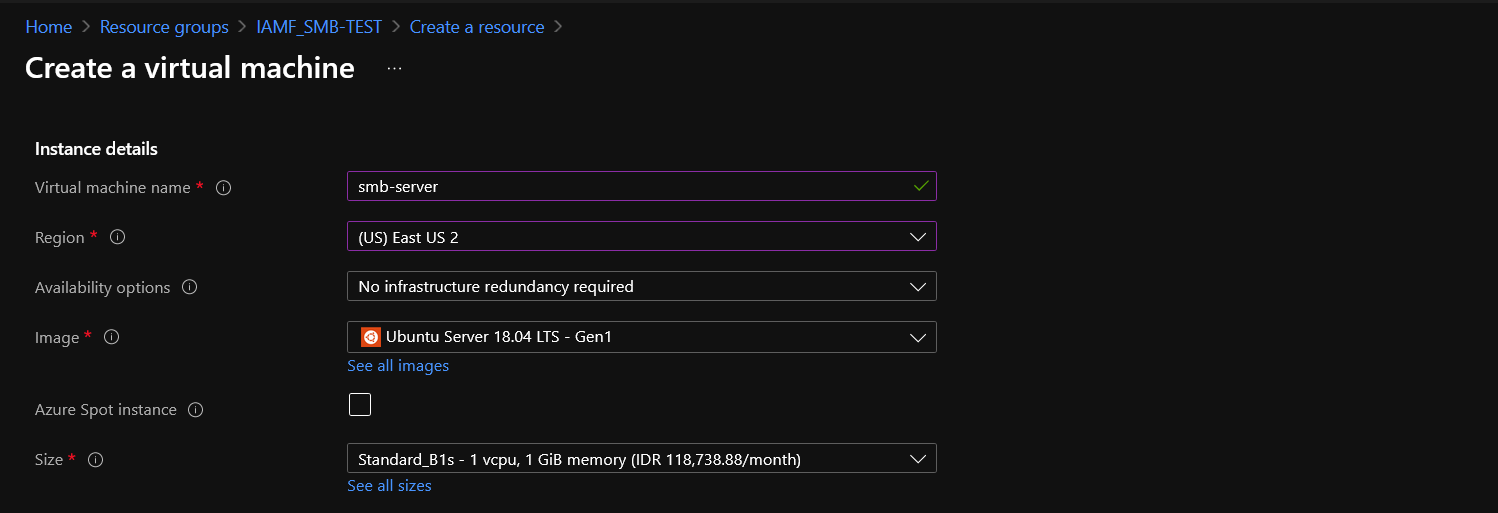
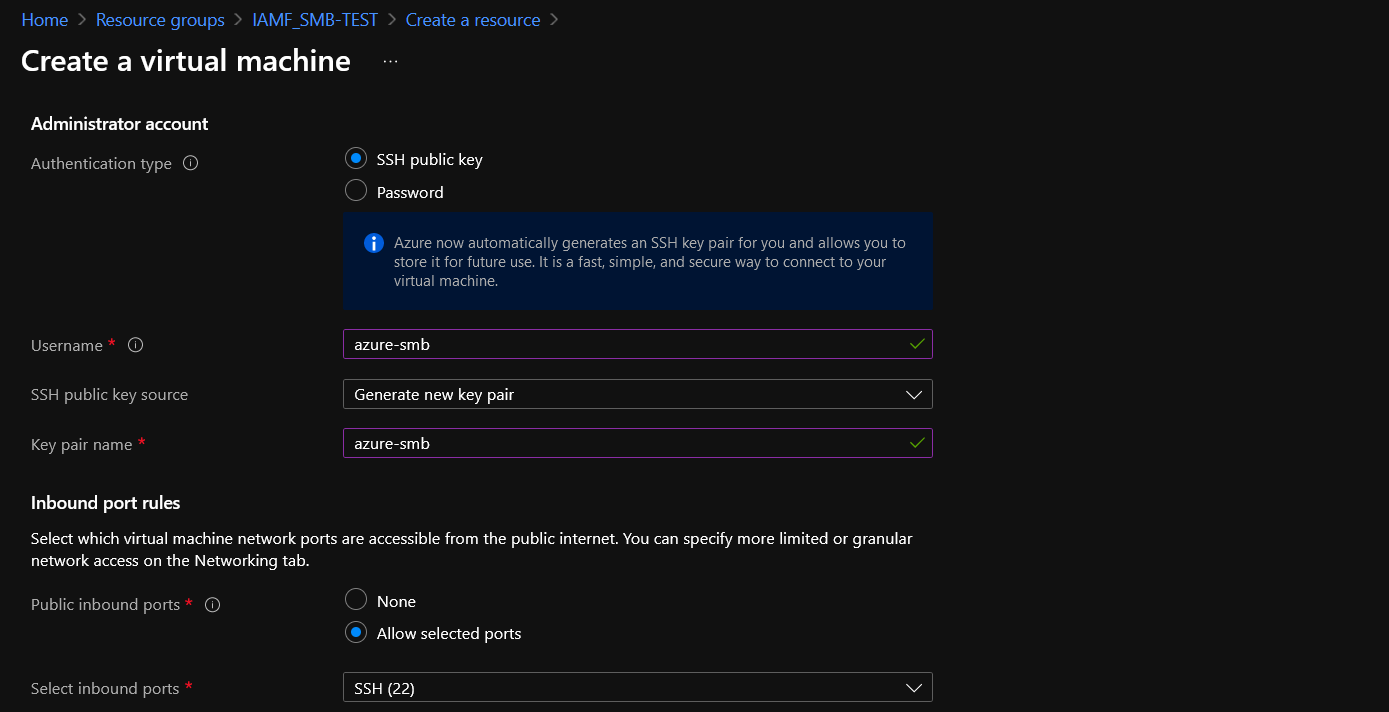
For authentication to the server, I’ll be using an SSH public key here instead of a password. The account for server administration is called azure-smb. Since the authentication is SSH, this VM will have an SSH port open publicly (internet).
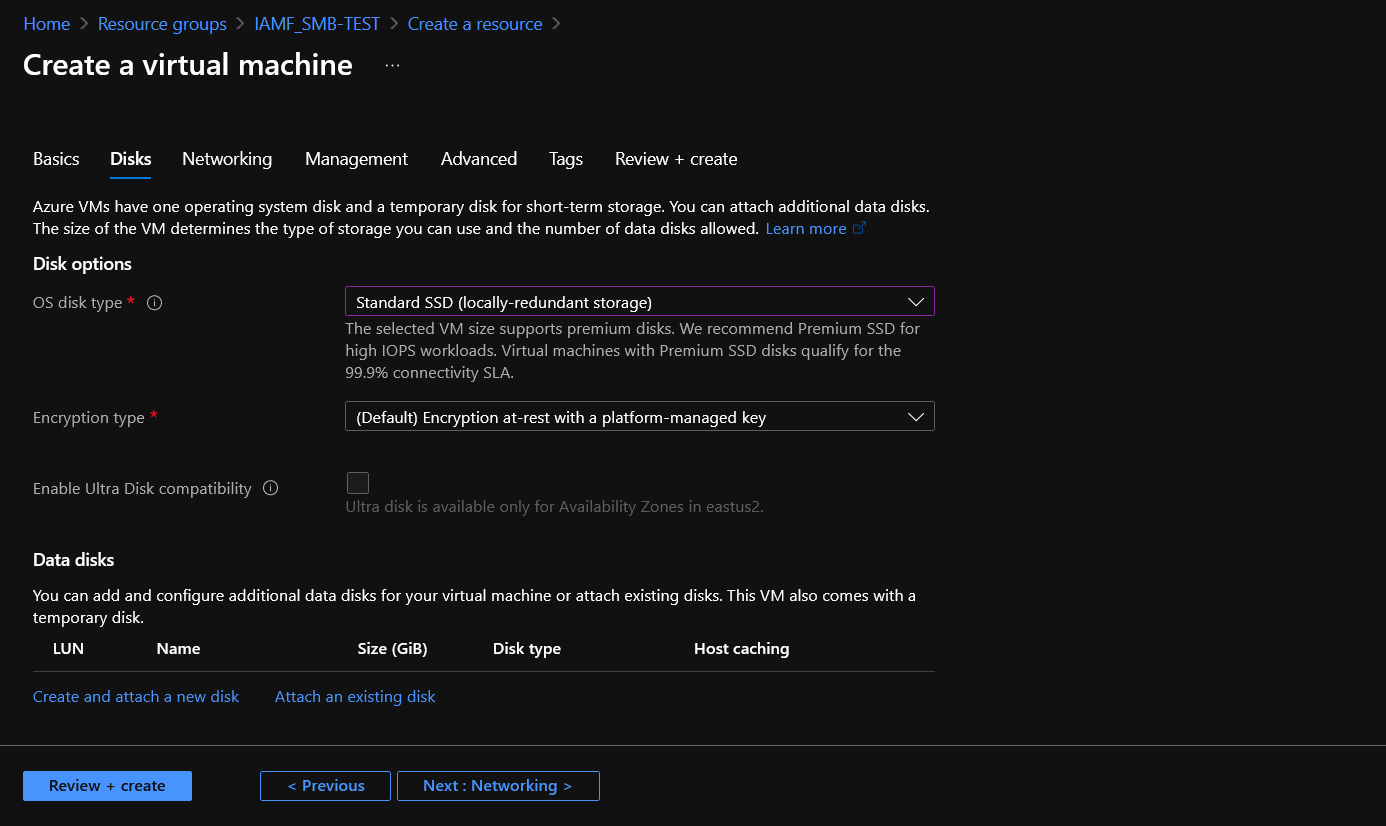
In the following section, I’ll use a standard SSD and leave the other settings at their defaults.
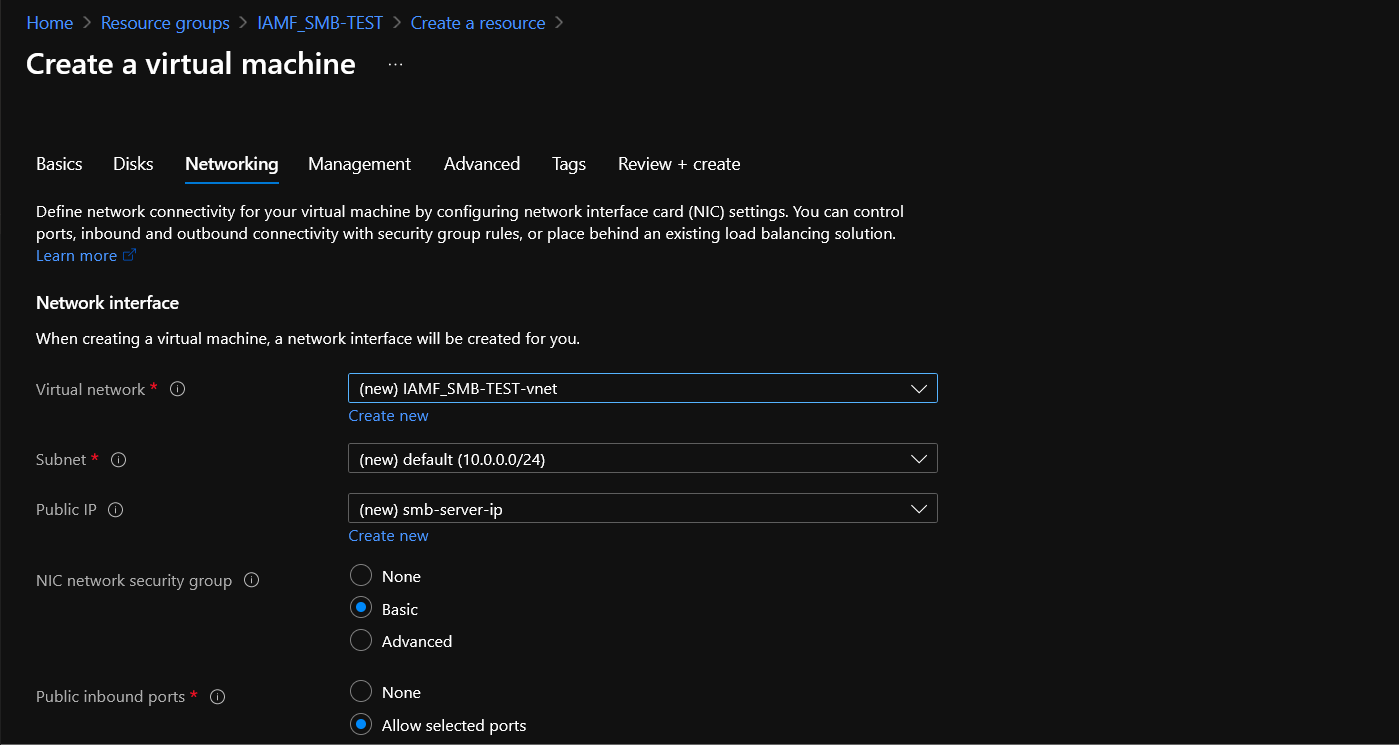
In the Networking section, I’ll just create a new virtual network. See the following image for details:
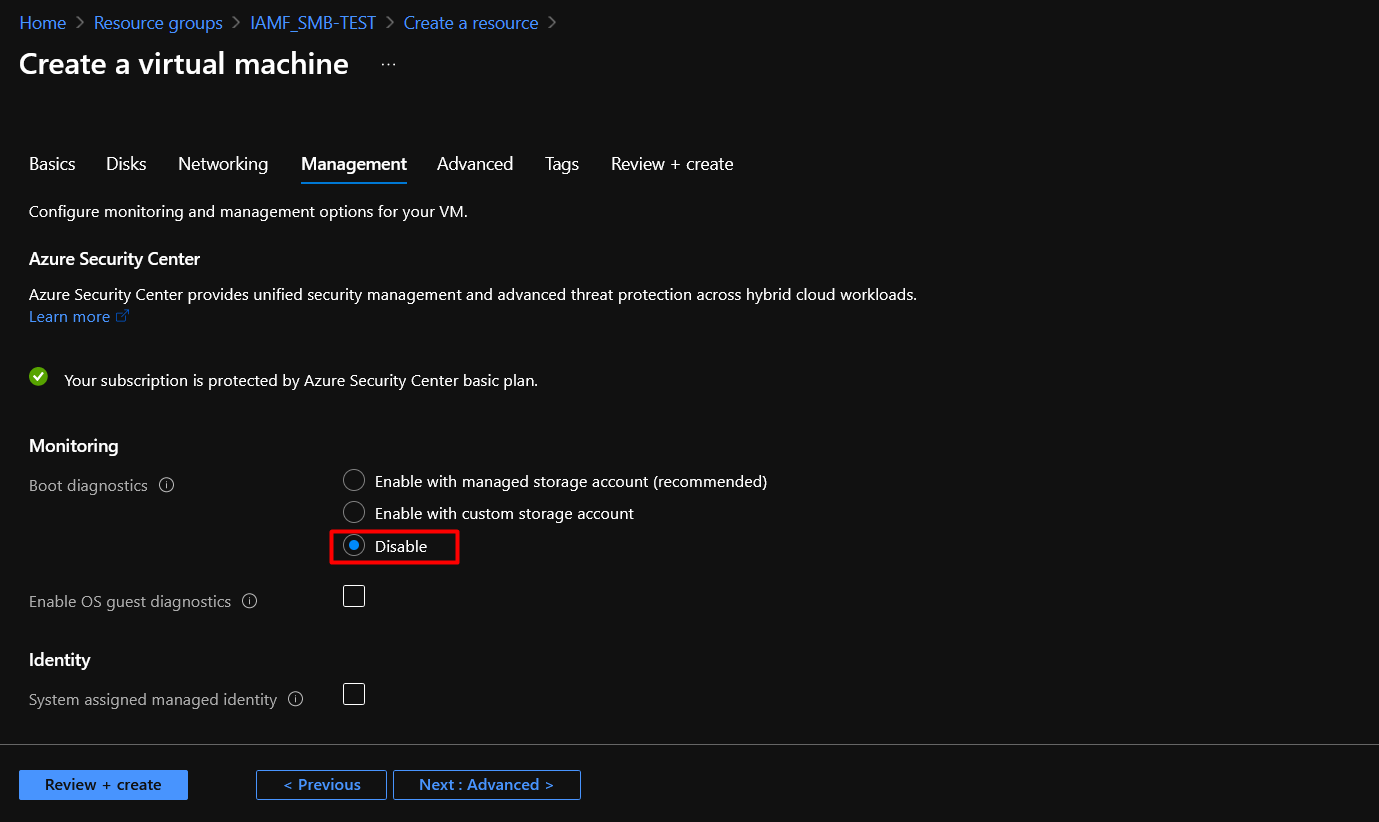
In the Management section, I’ll just disable the boot diagnostics.
I’ll leave the Advanced with the default settings and skip the Tags section.
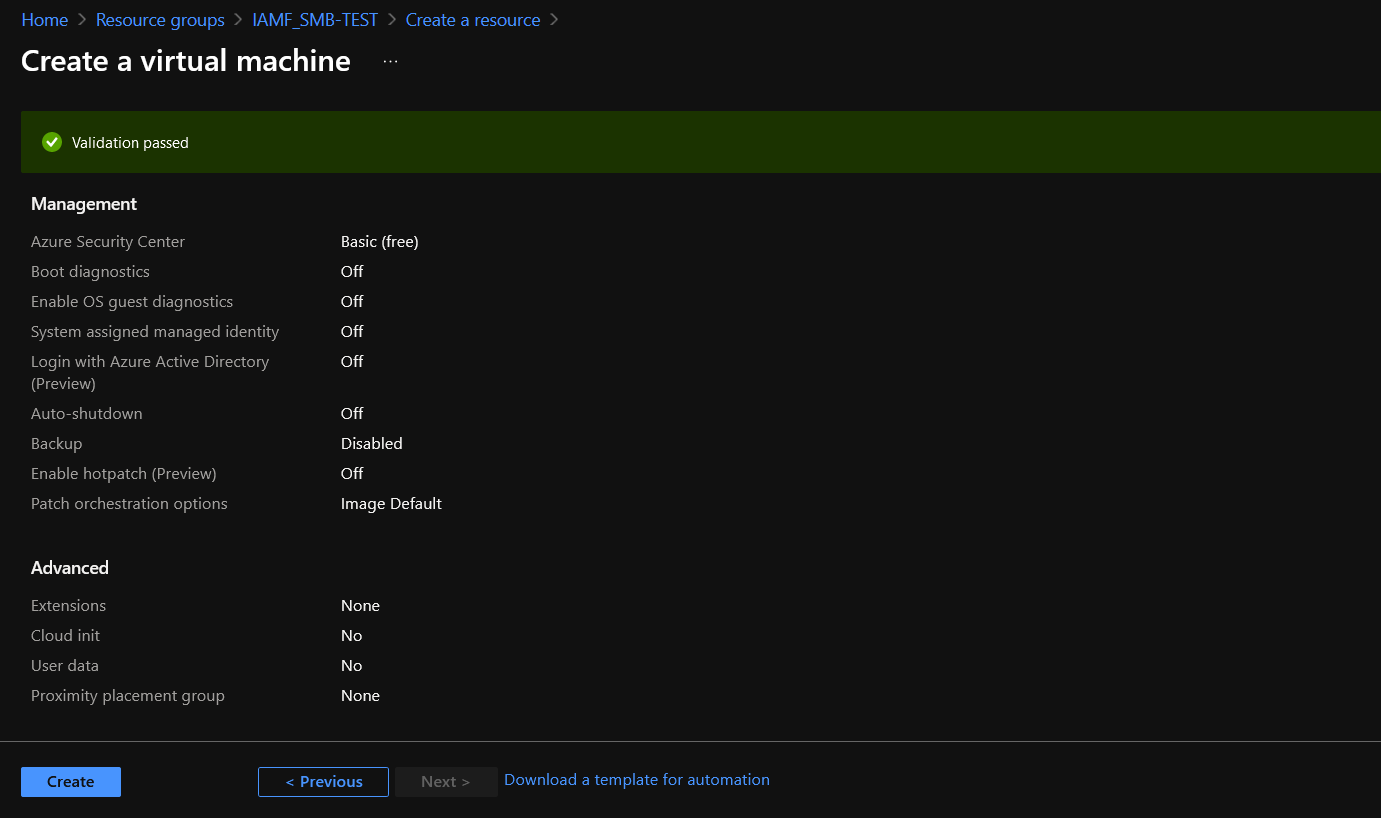
The last section is Review + Create, which basically a section to review the VM configuration. After I finish the review, I’ll press the Create button.
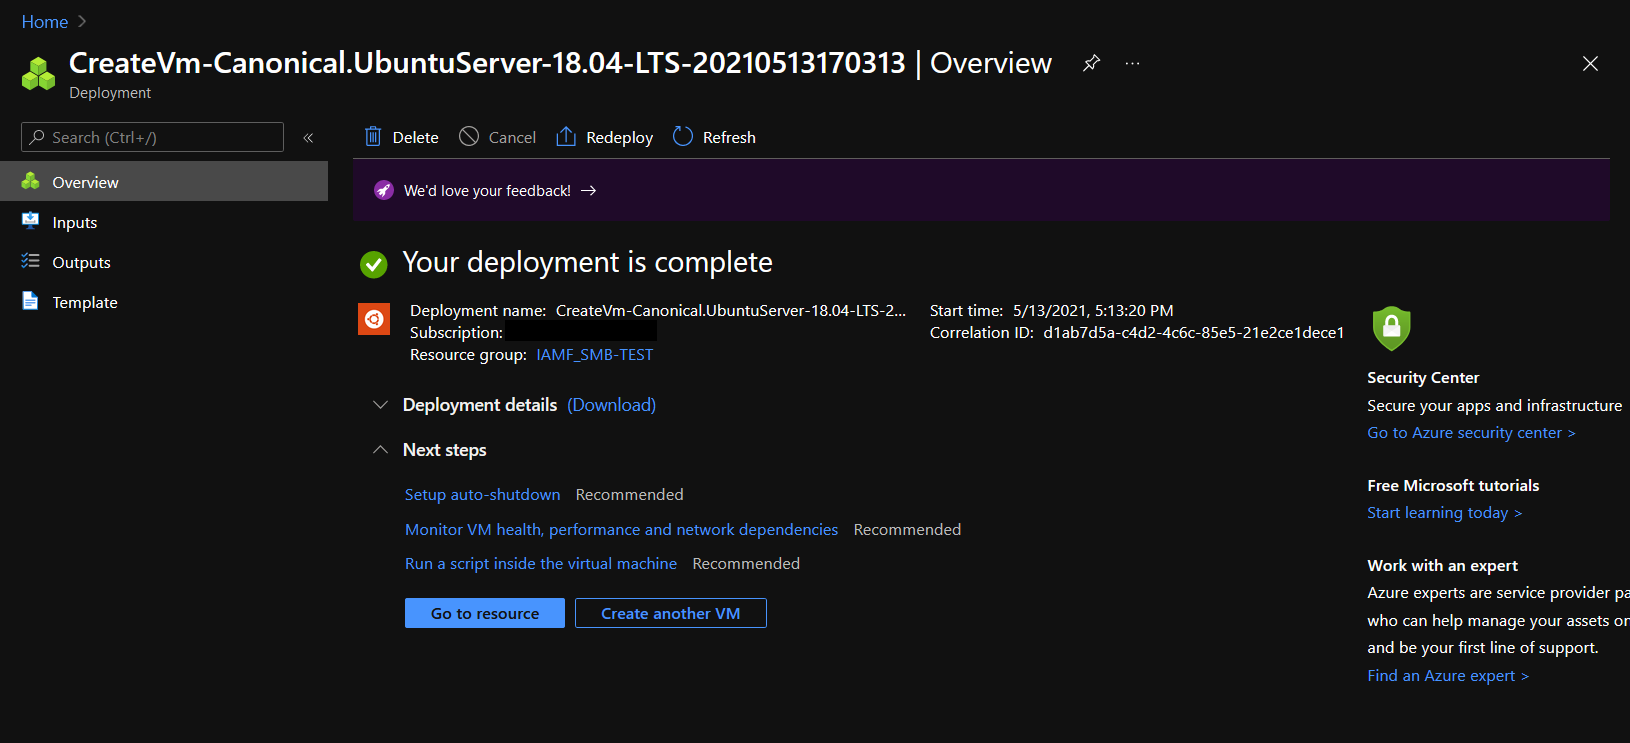
When the Create button is clicked, the VM will be deployed automatically.
Access VM
Once the machine or VM has been deployed. Log into it using SSH. The public IP of the VM instance can be found at the Dashboard > RESOURCE_GROUP_NAME > PUBLIC_IP_NAME. In my case, it is Dashboard > IAMF_SMB-TEST > smb-server-ip.
$ ssh -i private_key azure-smb@PUBLIC_IP_ADDRESS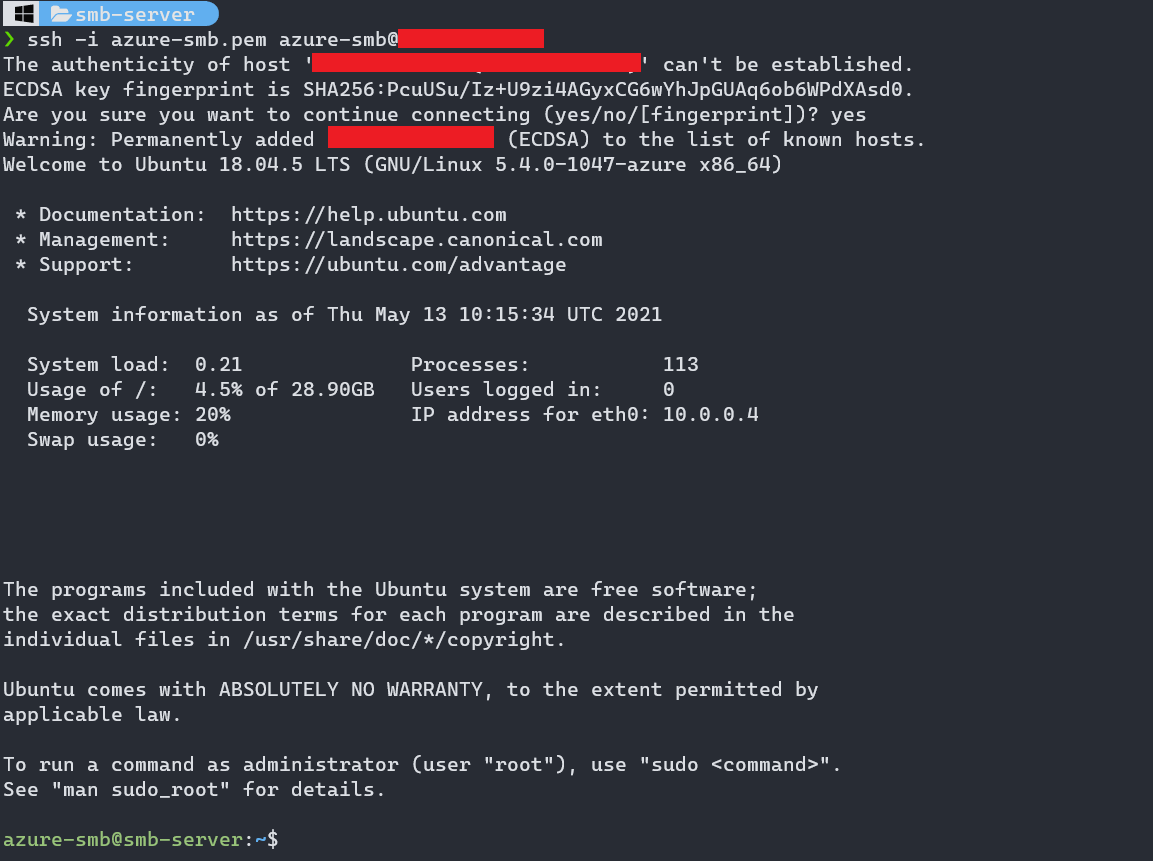
Samba
Repo Update
First thing first, let’s update the repository list.
azure-smb@smb-server:~$ sudo apt updateInstall Samba
After that, install Samba with the following command.
azure-smb@smb-server:~$ sudo apt install sambaOnce the installation is done, check the Samba service daemon status.
azure-smb@smb-server:~$ sudo systemctl status smbd
● smbd.service - Samba SMB Daemon
   Loaded: loaded (/lib/systemd/system/smbd.service; enabled; vendor preset: enabled)
   Active: active (running) since Thu 2021-05-13 10:17:45 UTC; 3min 48s ago
     Docs: man:smbd(8)
           man:samba(7)
           man:smb.conf(5)
 Main PID: 2098 (smbd)
   Status: "smbd: ready to serve connections..."
    Tasks: 4 (limit: 1056)
   CGroup: /system.slice/smbd.service
           ├─2098 /usr/sbin/smbd --foreground --no-process-group
           ├─2123 /usr/sbin/smbd --foreground --no-process-group
           ├─2124 /usr/sbin/smbd --foreground --no-process-group
           └─2129 /usr/sbin/smbd --foreground --no-process-group

May 13 10:17:44 smb-server systemd[1]: Starting Samba SMB Daemon...
May 13 10:17:45 smb-server systemd[1]: Started Samba SMB Daemon.
Samba is ready, and now let’s configure the share folder.
Configure Shares
First, let’s create a backup file of the original configuration, so we can reset it to the default configuration, just in case something goes wrong.
azure-smb@smb-server:~$ sudo cp /etc/samba/smb.conf{,.backup}Now create a share folder name it sambashare.
azure-smb@smb-server:~$ mkdir sambashareThen open the samba configuration file with a text editor like nano.
azure-smb@smb-server:~$ sudo nano /etc/samba/smb.confGo straight to the bottom of the file and add the following lines.
[sambashare]
    comment = Samba Share
    path = /home/azure-smb/sambashare
    read only = no
    browsable = yes
Note: Details for configuring a share can be read here or here.
Save the file and restart the SMB daemon with the following command:
azure-smb@smb-server:~$ sudo service smbd restartLastly, update the firewall to allow network traffic for Samba/SMB.
azure-smb@smb-server:~$ sudo ufw allow sambaThis is the basic configuration of creating a Samba share, but from here you can create another share with more complex configuration. Here are my references:
- https://linuxize.com/post/how-to-install-and-configure-samba-on-ubuntu-18-04/
- https://confluence.jaytaala.com/display/TKB/Create+samba+share+writeable+by+all%2C+group%2C+or+only+a+user
- https://www.digitalocean.com/community/tutorials/how-to-set-up-a-samba-share-for-a-small-organization-on-ubuntu-16-04
Add Samba User
Currently, our Linux account for administering the server is azure-smb and we shouldn’t use this account password to access the SMB shares. So, let’s just create a dedicated user for SMB called user1.
azure-smb@smb-server:~$ sudo useradd --system -s /usr/sbin/nologin user1Assign user1 to be the owner of the share
azure-smb@smb-server:~$ sudo chown user1 /home/azure-smb/sambashareAfter that, create a Samba password for user1.
azure-smb@smb-server:~$ sudo smbpasswd -a user1
New SMB password:
Retype new SMB password:
Added user user1.
Finally, enable the user.
azure-smb@smb-server:~$ sudo smbpasswd -e user1
Enabled user user1.
Expose SMB to the Internet
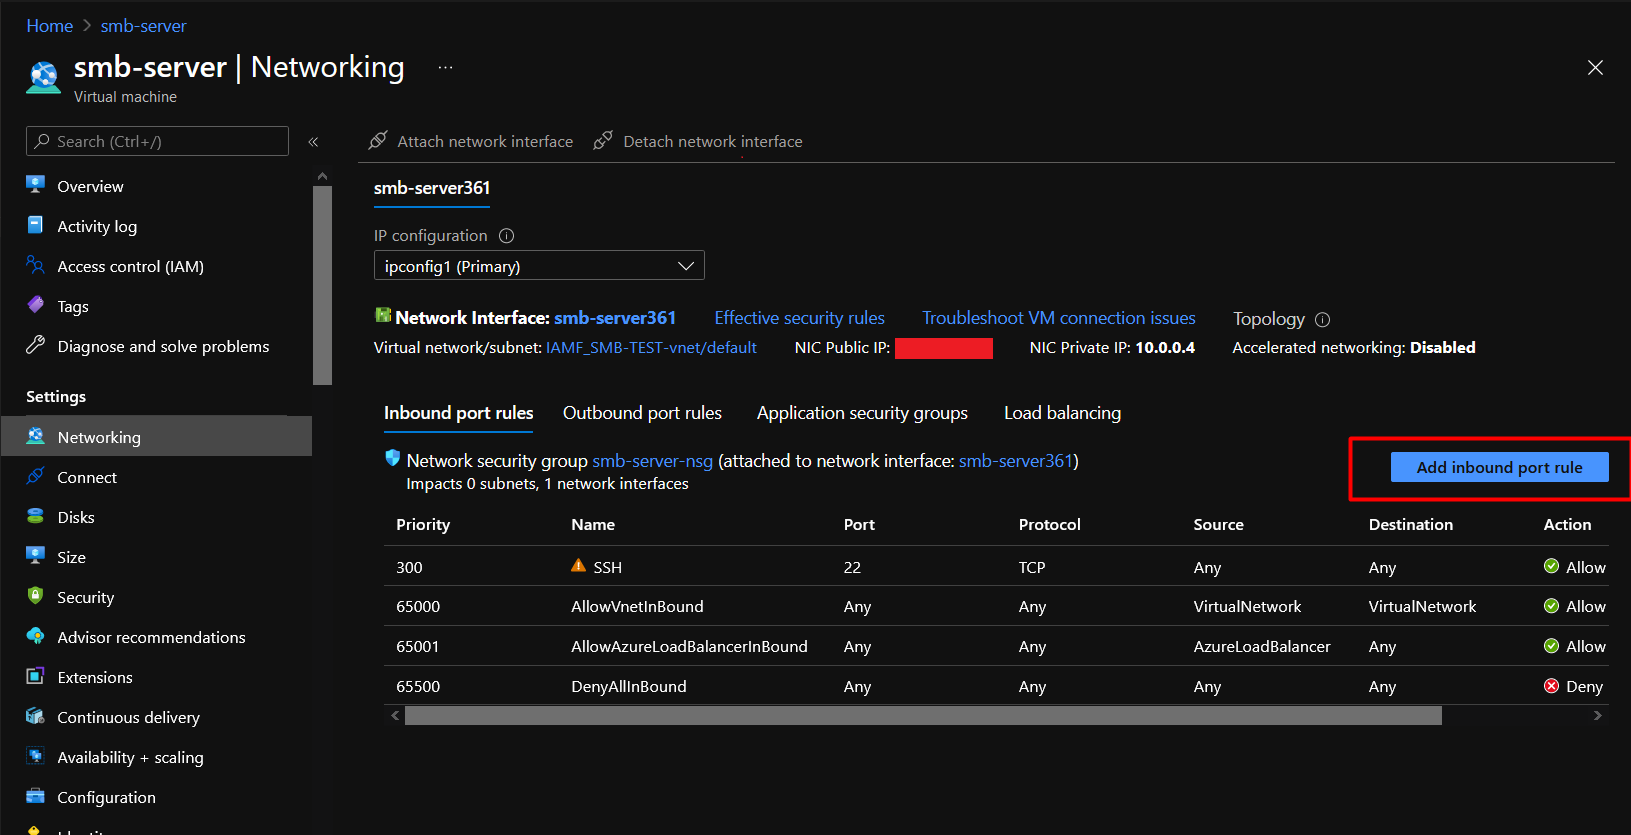
Allow Inbound Connection
Now if we want to make the SMB server available on the Internet, we have to go back to the Azure Portal to open the SMB port (port 445) on the NIC Public IP and allow inbound connection through that port. The connection is then forwarded to our SMB port on the NIC Private IP.
PUBLIC_IP:445 --> PRIVATE_IP:445To do that open up the Networking settings of the SMB VM and click on Add inbound port rule button.
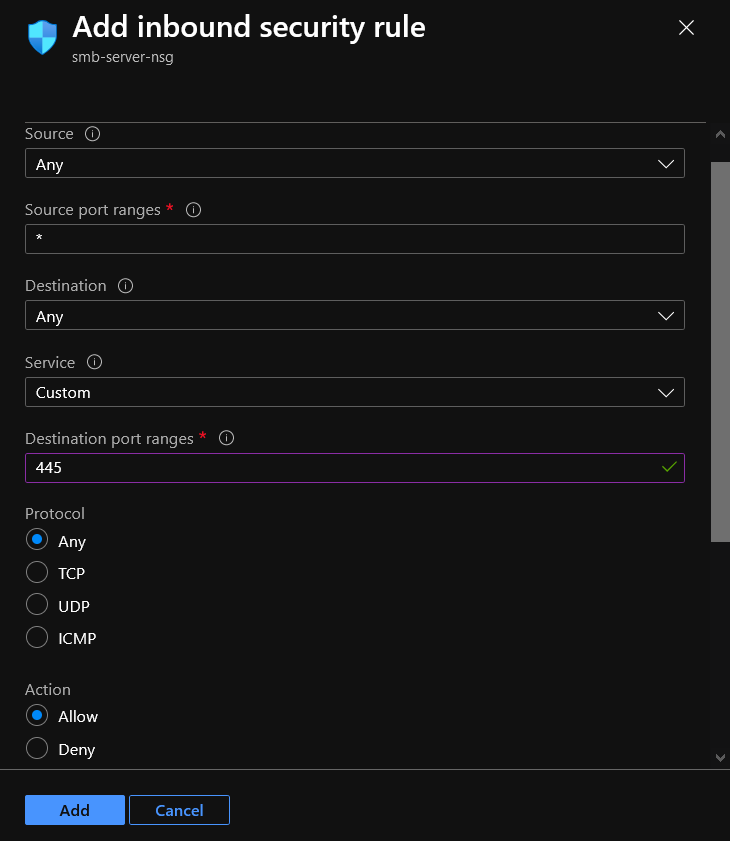
On the new Windows, configure the rule to allow any source (incoming IP) for non-whitelist or input the whitelisted IP in the Source section. Then, for source port ranges (incoming port) let it be asterisk (*) to allow any port to connect to our SMB services(port 445).
The configuration is as follows:
At the bottom, the configuration is as follows:
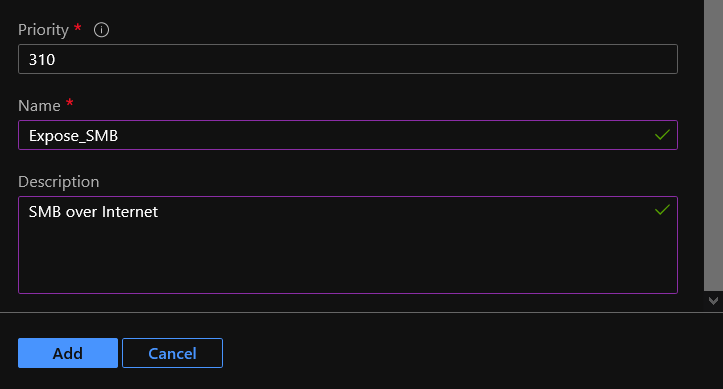
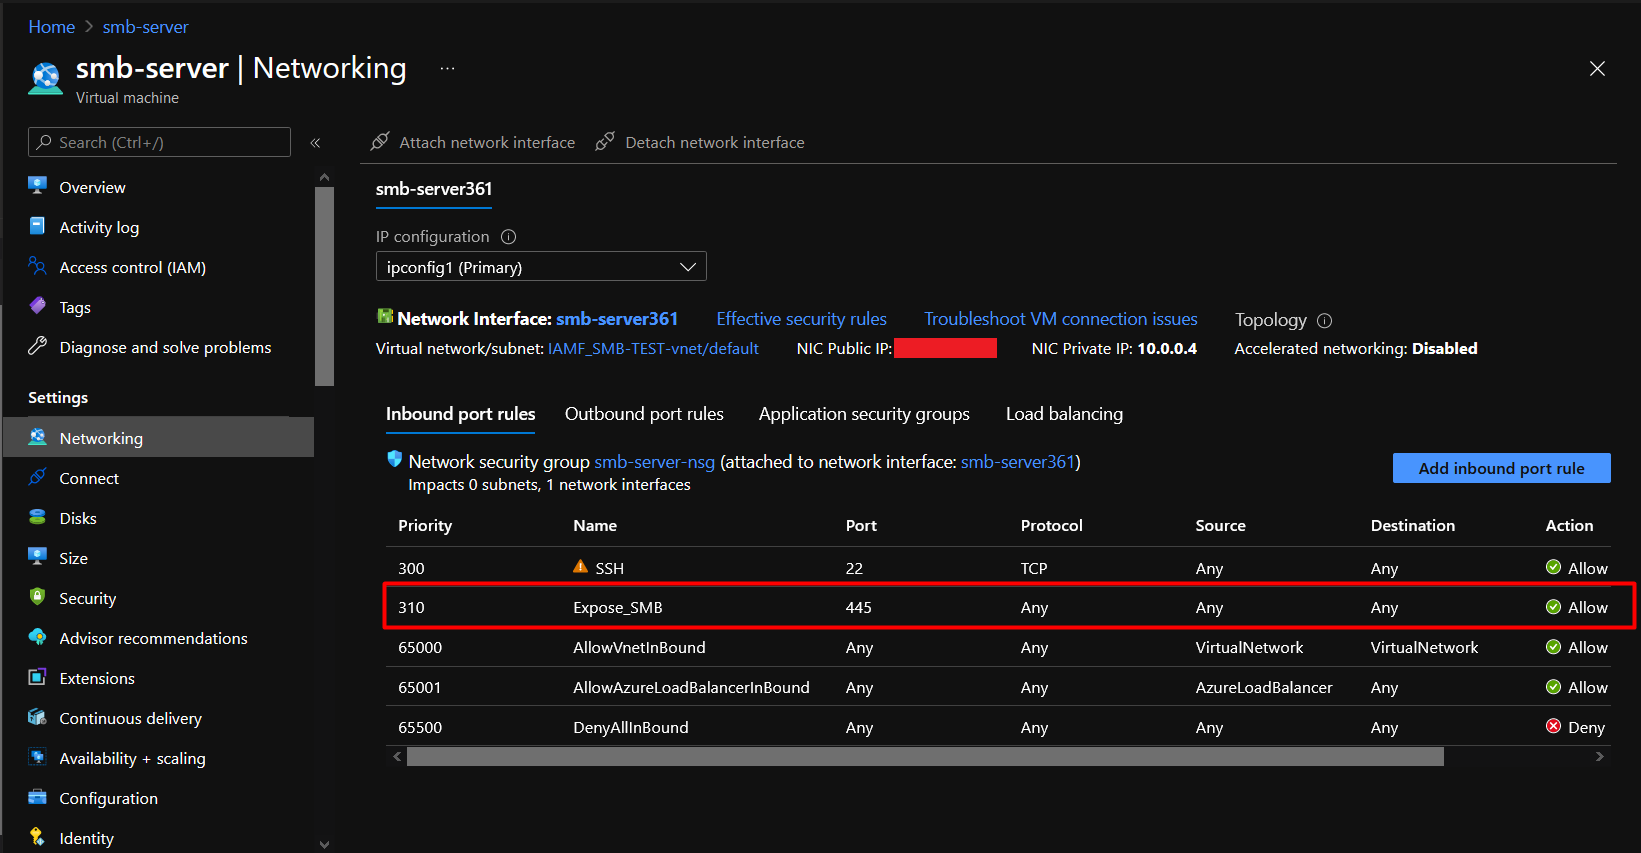
Once done, click on the Add button and the new rule should listed in the Inbound port rules section.
Verify Public Access
We can use nmap to see if the SMB port has been opened.
$ nmap -p445 -sV VM_PUBLIC_IP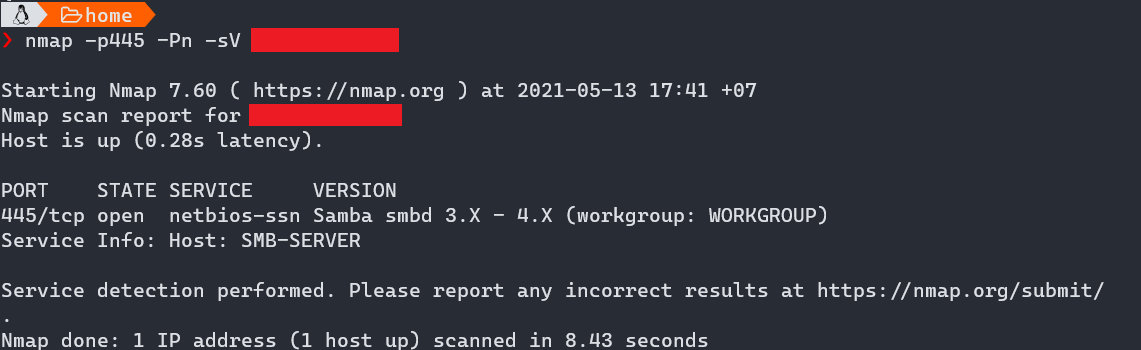
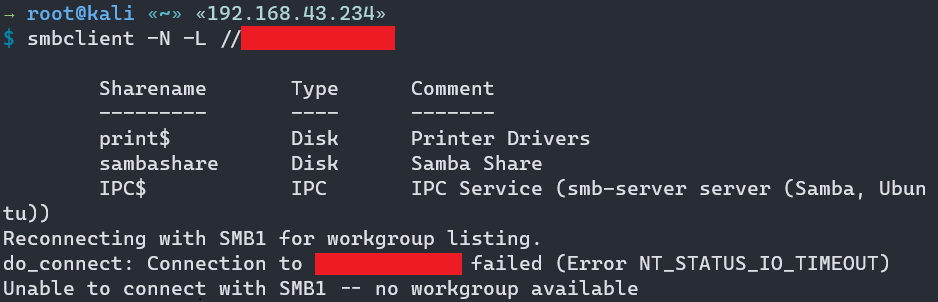
To interact with the SMB server via CLI, you can use smbclient. Install it with:
$ sudo apt install smbclientOnce it installed, connect to the share with following command:
$ smbclient //[IP]/[sharename] Adding -N -L can list all the available shares.
You can also provide the password directly in the terminal:
$ smbclient //[IP]/[sharename] -U [username] [password]
$ smbclient //[IP]/[sharename] -U 'username%password'
This setup worked as expected for the original requirement, although it was not used. If I were to implement this again, I would place the SMB server behind a VPN and avoid exposing port 445 directly to the Internet.