This article is a part of:
Not so long ago, I just started exploring Cloudflare for my personal projects. Even with free plan, it offers bunch of useful features such as tunneling and Cloudflare workers, which I used for mirroring this site.
This post is a quick note about how to delegate the DNS management for a domain that I bought from Hostinger to Cloudflare.
Transfer Domain
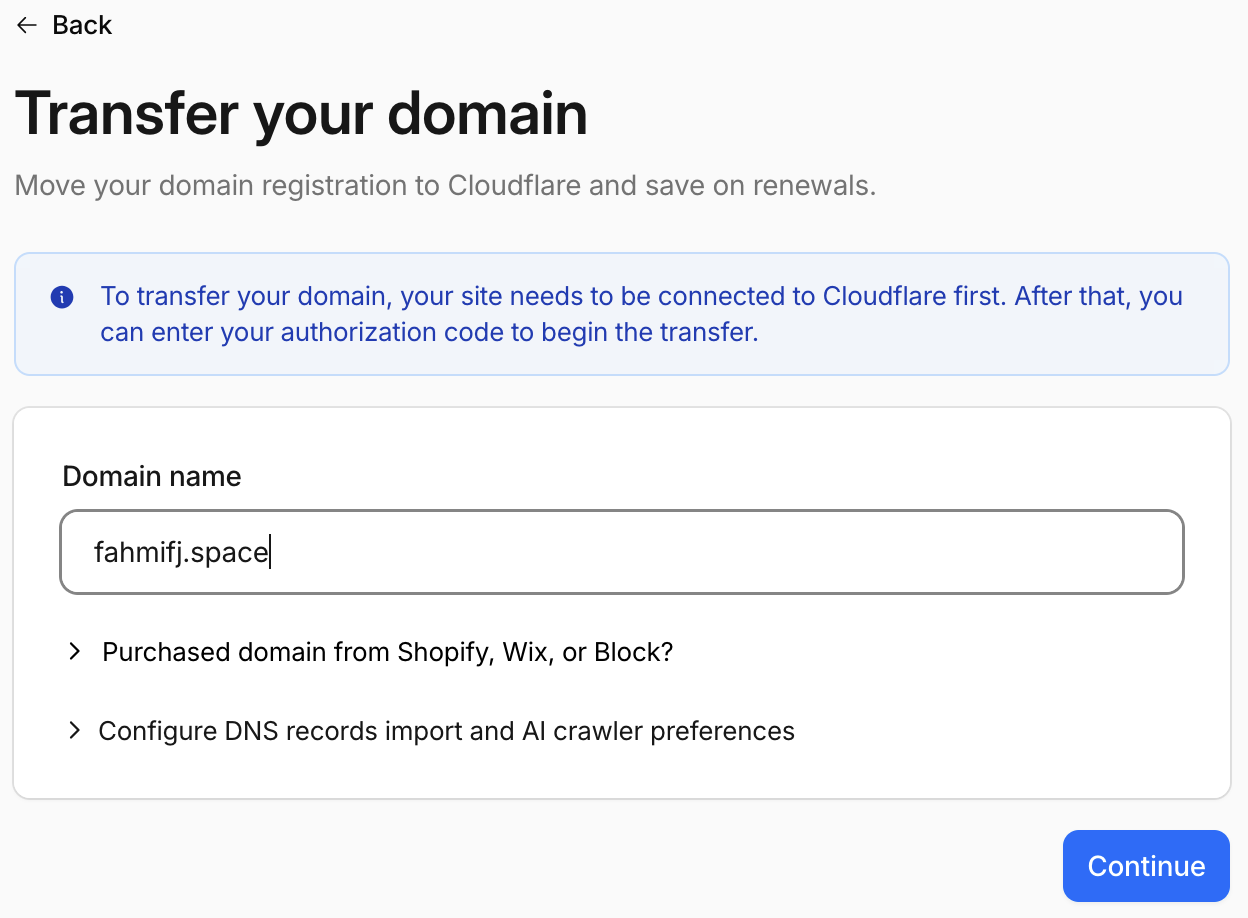
Login into the Cloudflare Dashboard, navigate to Domains > Transfers. Enter your domain name.
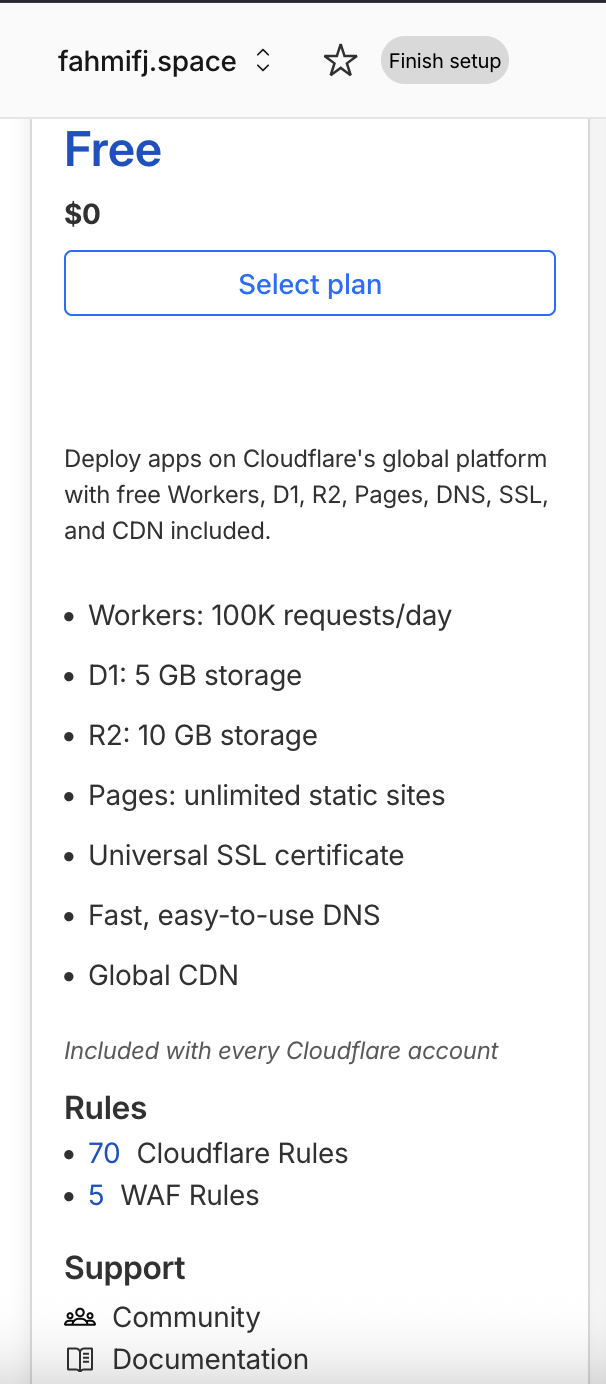
You will be asked about subsciption plan here, and of course I’d choose the free one.
The next page will review for your current DNS records. Since mine was freshly bought, I don’t have to worry about it.
The last page we will get two Cloudflare nameservers. Note that nameservers, and go to your DNS provider, which in this case mine was Hostinger.

Pointing Nameservers
In Hostinger panel, navigate to Domain > DNS/Nameserver > Change Nameserver. Now input the nameservers given by Cloudflare in that page.

It just may take several hours to complete before you can fully manage the DNS from Cloudflare.
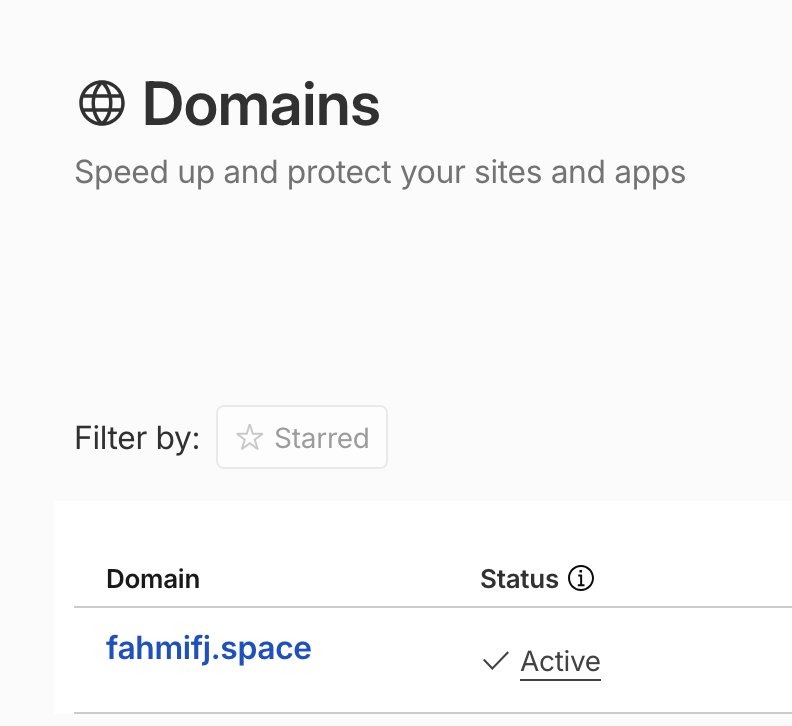
Once done, you will see your domain status is active in the Cloudflare Domain page
End
In short, we’re letting Cloudflare handle the DNS management, but Hostinger remains as the registrar. You’ll manage DNS records from Cloudflare, but anything related with domain registration and renewal are still handled through Hostinger.
That’s it, see you in the next post!